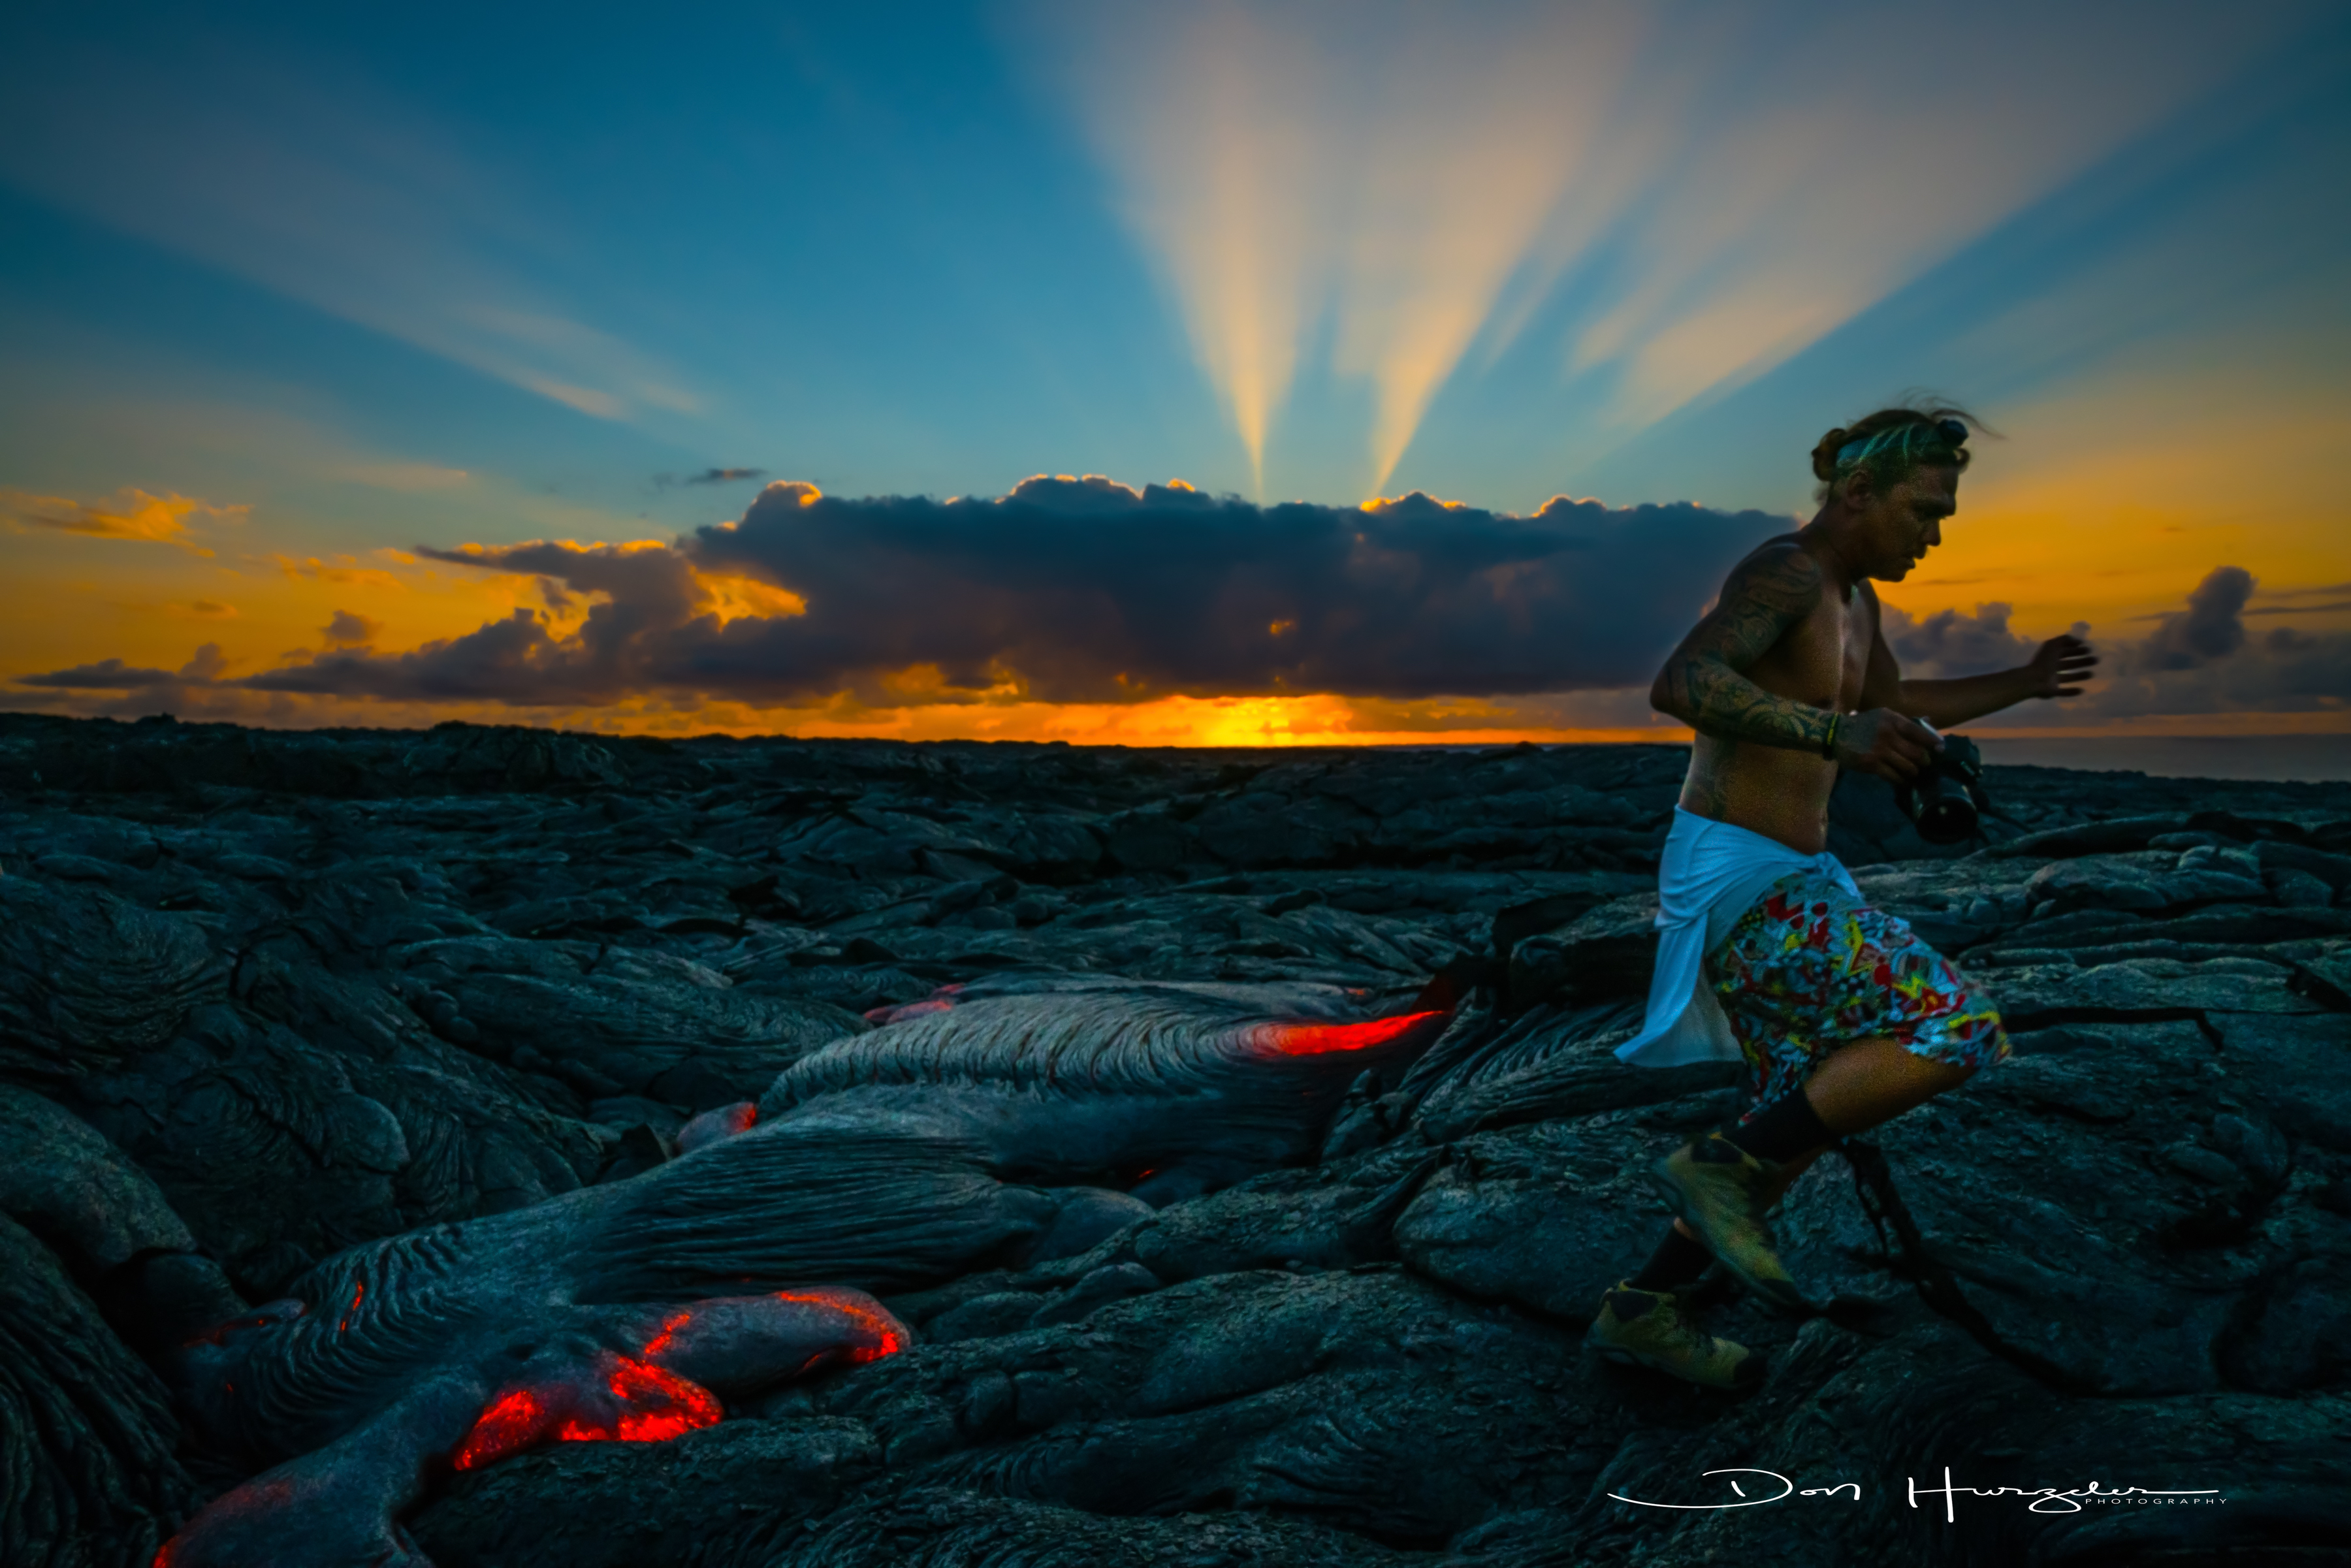
When you are in our gallery or looking at our lava shots online, you will see what appears to be some really close up shots of the 1600 F hot lava. So, customers often ask us…How close can you get to that lava? The answer…really really close. If the lava is pooling or advancing slowly, you can stand right next to it to get a shot. You can not stand there long…you may have to get your shot and quickly retreat…but you can get very close. It is a self regulating….the heat will let you know how close you can get. That heat is like nothing you have ever experienced…unless you have been close to lava. You will know when to move…I promise.
Is it safe to be close…depends. If it is pooling or very slow moving it is semi-safe to be close. I say semi because lava does tend to pop a bit and may fire off a burning cinder directly at your bare skin…and that will not kill you, but it is unpleasant as hell if it does manage to nail you.
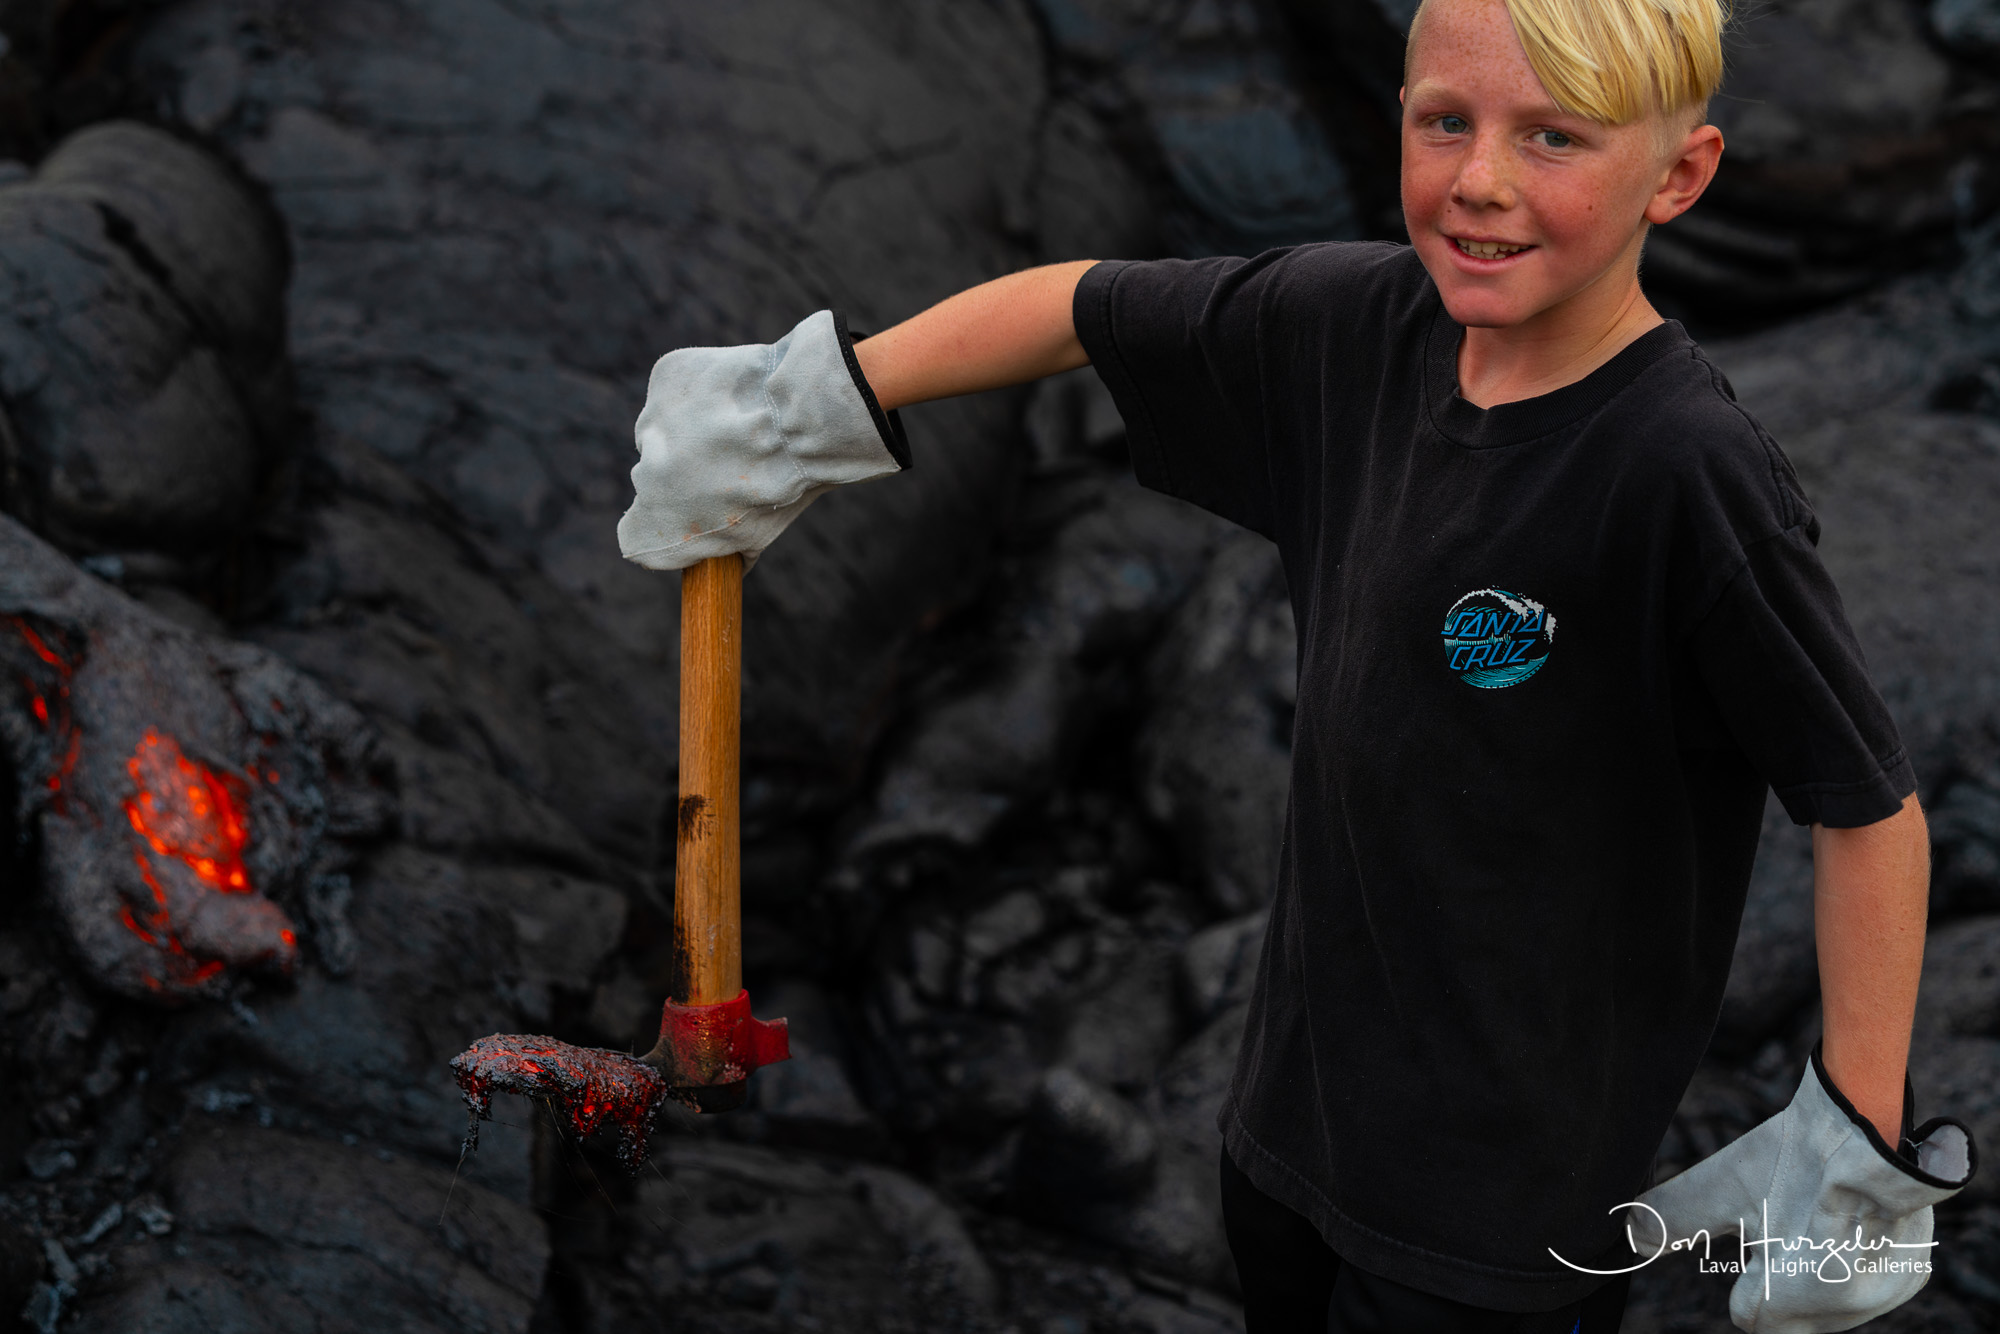
Attached is a photo of my beloved grand son, Nathan, …age ten at the time. He was under the direct supervision of several of the most experienced lava field people in the world and myself and Linda and his parents and sister. We put gloves on him and explained very carefully how we wanted him to approach the lava. He carefully put the pick into the liquid lava and found, much to his surprise, that it was not like water…it was very viscous…thick and sticky…difficult to pull the pick out once it was placed in the lava. He pulled out some lava and held it like that for about one second…before the heat was too much for him to bare. Why did we have him do this seemingly stupid stunt…we wanted everyone there to understand the nature of flowing lava. People on the lava field can get surrounded by flowing lava and might easily panic. If you understand the consistency of the lava, you can figure out how to get out of the dangerous situation…look for lava that has darkened and crusted over and the viscous nature of the lava beneath that surface is likely to support your quickly moving across it to safety. Not something you ever want to have to do…but if you are out there enough, you will get your opportunity to put this procedure into practice.
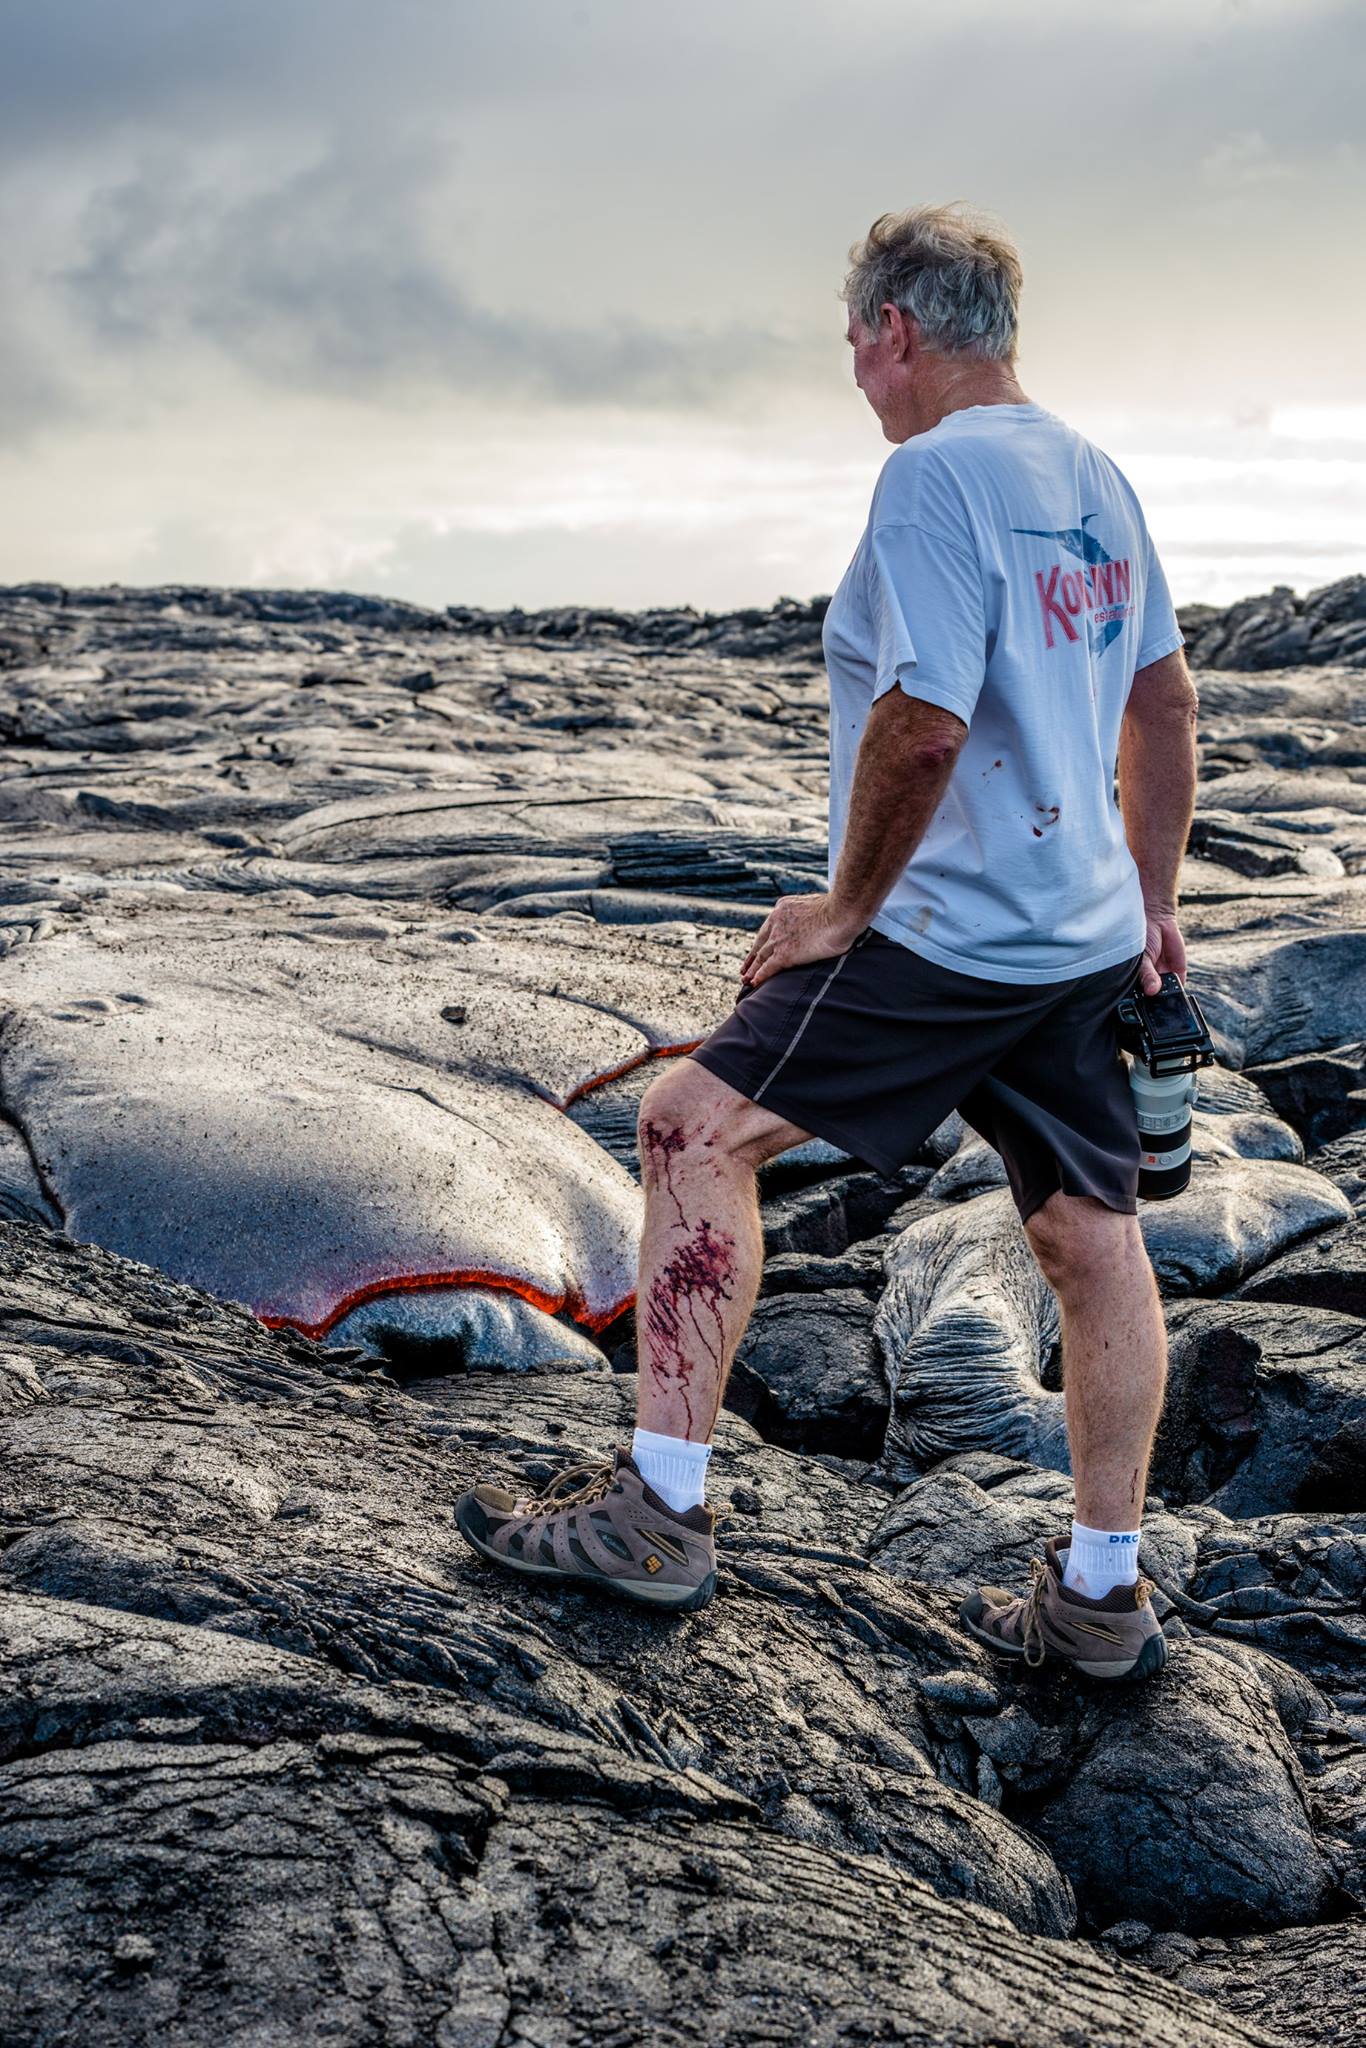
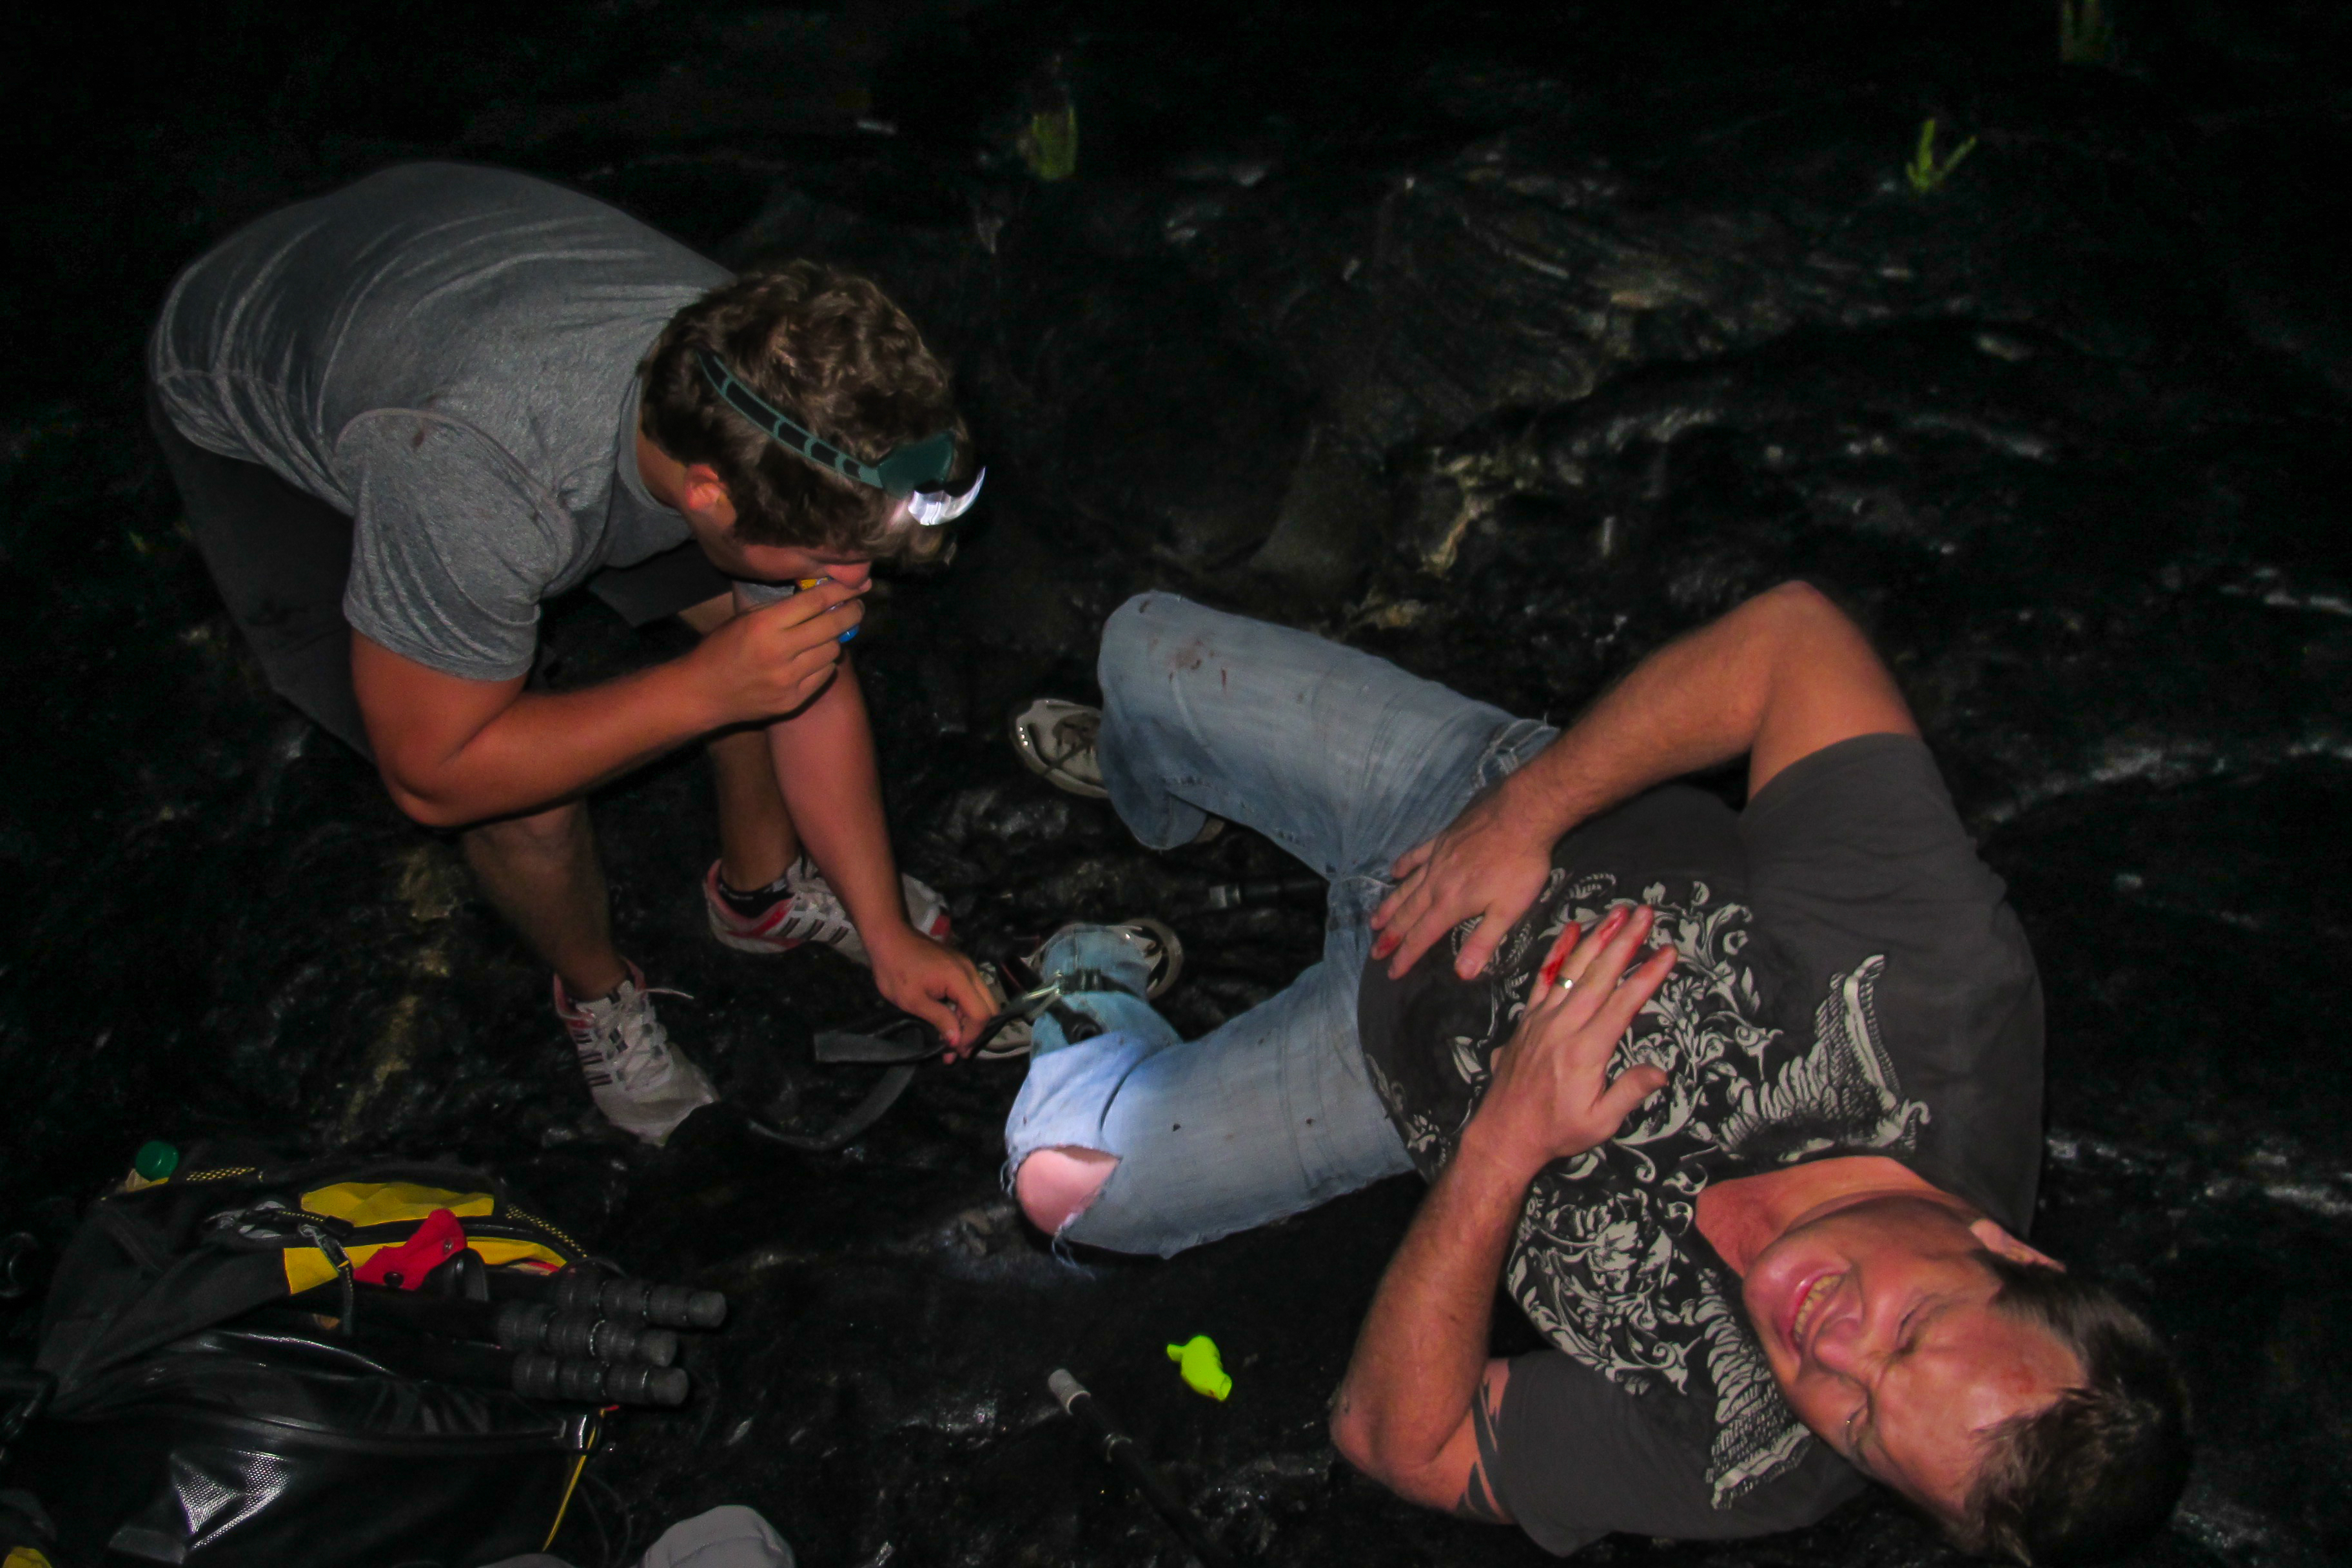
I think that hiking out to the lava flow…when it is flowing (it is not flowing at the time I am writing this post) is a life changing experience. You get to see nature creating new land. It is just plain remarkable to watch. I hiked my 85 year old parents out there to experience it. Hiked two of my grand kids out and my daughter and her husband. I hiked out the editor of my books…and he is about the same age as me…advanced. We’ve hiked out friends and relatives and people from a dozen different countries…all without incident. However, I have been badly hurt out there…gassed and cut up…and knocked out in a fall. CJ has had his ankle broken and is very lucky to even be alive after disappearing into a crack in the lava. We lost a good friend and much respected lava guide/photographer, Sean King…killed by gas on the lava flow. The difference in those times when people were hurt or when it is safe to take out a parent or grand child…the conditions and locations of the flow. I had to hike my parents maybe 50 yards to a stalled flow in a relatively flat area. The flow I hike my grand kids to was a bit more challenging, but it was not a rapidly moving situation and the weather was perfect.
When the surface lava returns and you decide you want to go out to see it…ask around before you go…and go with a guide, like John Tarson of Epic Lava. CJ, Nick and I were probably the last people to ever see a Japanese visitor that we told not to go out. He clearly understood us and went out on his own anyway…and he never returned. It is safe out there…sometimes. It is unsafe out there often. Know before you go.
Aloha.